
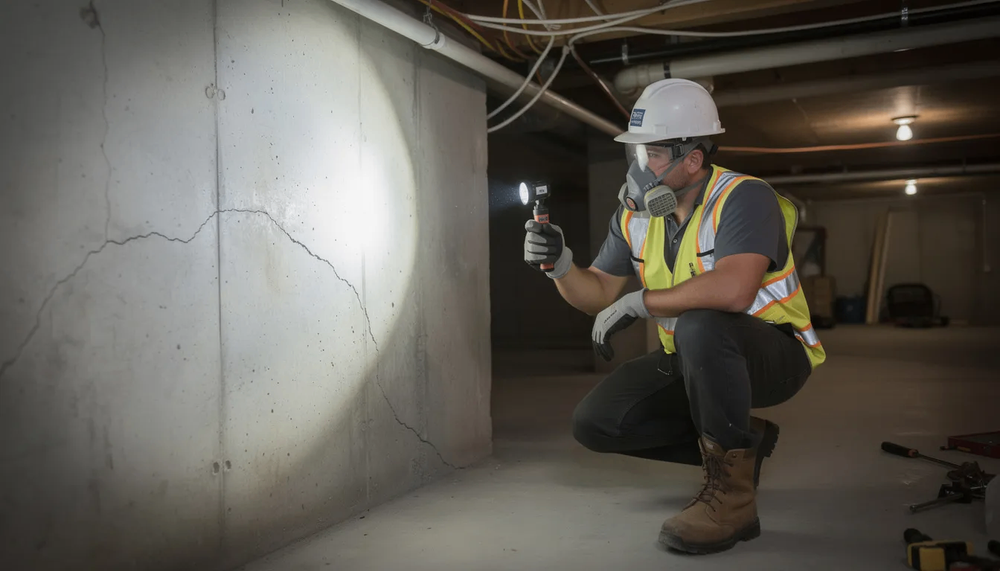
Basement moisture problems can quickly turn from a minor nuisance into costly damage if left unchecked. Whether you’re noticing damp walls, musty odors, or actual water intrusion, understanding how to effectively waterproof basement walls from inside is critical to protecting your home’s foundation and maintaining a healthy living environment. Interior waterproofing offers a practical, less invasive solution that can save you time and money compared to exterior excavation.
In this comprehensive guide, you’ll learn everything you need to know about waterproofing basement walls from inside—including identifying moisture sources, choosing the right materials, and implementing proven methods like interior drain tile systems and sump pumps. Whether you’re a DIY enthusiast or planning to hire professionals, this article will equip you with the knowledge to keep your basement dry, safe, and structurally sound for years to come.
Why Waterproofing Basement Walls From Inside Matters
Many homeowners first notice a musty smell, damp carpet, or visible water stains on their basement walls before searching for solutions. Waterproofing basement walls from inside offers the fastest path to protecting your home’s foundation without the expense and disruption of exterior excavation.
Understanding the difference between dampness and active water intrusion matters for choosing the right solution. Dampness—condensation on cool walls, minor seepage after heavy rain—often responds well to coatings and improved ventilation. Active water intrusion—puddles forming on the basement floor, water flowing through cracks, or flooding during storms—requires more comprehensive drainage solutions.
Interior waterproofing focuses on managing water after it reaches the wall or slab rather than stopping it at the source. This approach works particularly well for existing homes where digging around the foundation would damage landscaping, utilities, or adjacent structures. Superior Foundation Repair has experienced crews installing interior systems all over Utah, working with both finished and unfinished basements in homes of every age.
This guide will give you enough information to decide what you can handle yourself and when calling a professional makes more sense.
Understanding Where Basement Moisture Comes From
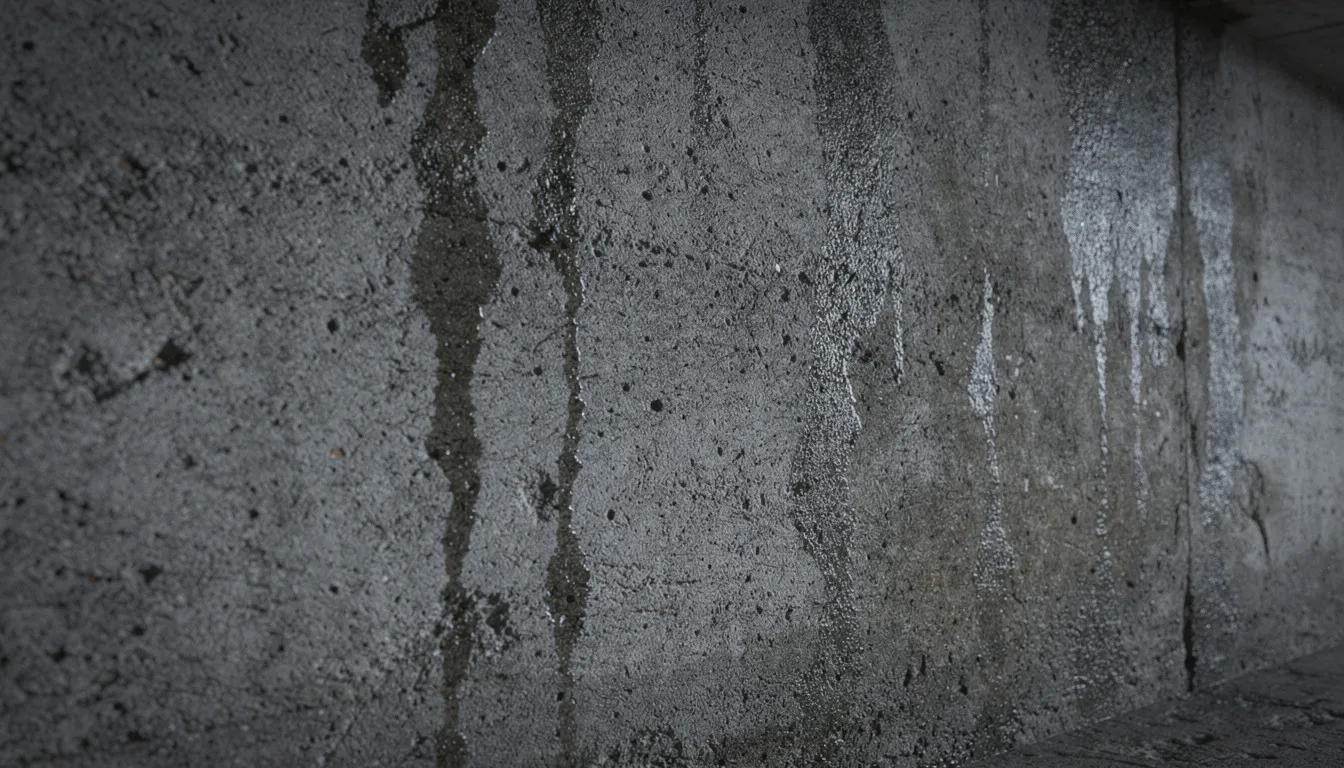
Effective interior waterproofing starts with correctly diagnosing the source of moisture—not just painting over the symptoms. Water finds its way into basements through several distinct pathways, each requiring different solutions.
Liquid Water Sources
The most common cause of basement leaks is hydrostatic pressure. When soil around your foundation becomes saturated, groundwater exerts force through porous concrete, cracks, and gaps. In Utah, homes near high groundwater zones or on irrigation-heavy lots often see seasonal water patterns after spring snowmelt or heavy summer storms.
Typical liquid water entry points include:
-
Cove joints where the wall meets the basement floor
-
Vertical wall cracks from concrete shrinkage or minor settling
-
Pipe and conduit penetrations through foundation walls
-
Window wells that lack proper drains or collect debris
Vapor and Condensation Sources
Not all basement moisture comes from outside. High interior humidity, poor ventilation, and warm moist air condensing on cooler basement walls create dampness that mimics leaks. This happens especially in Utah’s spring and fall shoulder seasons when temperature swings are dramatic.
Signs that help identify your moisture source:
|
Symptom |
Likely Source |
|---|---|
|
Damp ring at base of wall |
Cove joint seepage or hydrostatic pressure |
|
Vertical wet streaks |
Wall cracks or porous concrete |
|
Damp carpet pads, musty smell |
Vapor intrusion or poor ventilation |
|
Rust on furnace or water heater legs |
Chronic floor moisture |
|
White powder (efflorescence) on block walls |
Water wicking through masonry |
Homes built on ancient Lake Bonneville clay layers—common throughout the Salt Lake Valley—face amplified hydrostatic pressure reaching 50-100 pounds per square foot during wet seasons.
Is Waterproofing Basement Walls From Inside Enough?
Interior waterproofing can be highly effective, but it is not always the complete solution. Understanding its limitations helps you make informed decisions about your home.
When Interior Solutions Work Well
Interior-only waterproofing typically proves sufficient in these situations:
-
Minor seepage during occasional heavy rain or snowmelt
-
Low to moderate hydrostatic pressure without chronic flooding
-
Finished basements where exterior excavation would destroy living space
-
Structurally sound walls with no bowing, leaning, or major displacement
-
Homes where exterior drainage improvements (grading, gutters) can reduce water load
When You Need More Than Interior Work
Some basement water problems require exterior intervention or structural repairs:
-
Major foundation movement with walls bowing inward or tilting
-
Consistently high water tables that overwhelm sump systems
-
Chronic flooding that recurs despite interior drainage
-
Large or growing cracks indicating ongoing structural issues
-
Severe exterior grading problems directing water toward the foundation
Relying solely on a vapor barrier or waterproof paint has real limitations. These products manage moisture vapor and light seepage but cannot relieve the hydrostatic pressure building behind your walls. Think of interior waterproofing as part of a complete system that may also include grading corrections, gutter maintenance, and sometimes exterior drainage improvements.
Core Methods for Waterproofing Basement Walls From Inside
Interior waterproofing works best as a combination of targeted repairs, protective coatings, and drainage controls—not just a single product or step. The following sections walk through each major component: surface preparation, crack and joint repair, wall coatings, interior drain tile systems, and sump pumps.
Doing these steps in the correct order greatly affects performance and longevity. Professional crews in Salt Lake City and similar markets typically complete full interior systems in 2–4 working days depending on basement size and access conditions.
Step 1: Inspect, Dry Out, and Prepare the Basement
Before applying any waterproofing products, you need a clear picture of what you are working with.
Visual Inspection
Walk your basement with a flashlight and map every damp spot, crack, and active leak. Note whether water appears:
-
At the base of walls (cove joint issues)
-
Through visible cracks (concrete shrinkage or settling)
-
Around penetrations (pipe or window frame gaps)
-
Uniformly across wall surfaces (porous concrete or vapor intrusion)
Drying and Cleaning
Remove any standing water with a wet vacuum or temporary pump. Allow surfaces to dry thoroughly—typically 24–48 hours with fans and dehumidifiers running continuously.
The first step for surface prep involves removing anything that will prevent coatings from bonding:
-
Scrape off old paint or loose coatings with a wire brush
-
Remove efflorescence (white mineral deposits) with a stiff brush
-
Vacuum all dust and debris from wall surfaces
-
Clean any mold or mildew with appropriate solutions
In homes across Utah built before roughly 1990, basements often have multiple layers of old paint that must be mechanically removed. Coatings applied over failing paint will peel within months.
Safety Considerations
Wear proper PPE including gloves, eye protection, and a respirator when working with older paint or in mold-prone basements. Lead paint testing is advisable in pre-1978 homes.
Step2: Seal Cracks, Joints, and Penetrations
Not all cracks are created equal. Structural cracks—wide, displaced, or actively growing—require professional evaluation. Non-structural hairline cracks can often be sealed from inside.
Active Leaks and Cove Joints
For cracks with water actively seeping through, hydraulic cement provides rapid results. These products set in 3–5 minutes even in wet conditions, expanding slightly to seal against water pressure. Work in small batches since the material cures quickly.
Smaller Cracks and Injection Systems
For thinner cracks without active flow, epoxy or polyurethane injection systems offer superior results:
-
Epoxy injections cure to form bonds exceeding 3,000 psi tensile strength, ideal for structural bonding
-
Polyurethane injections expand up to 20 times their volume, creating flexible seals that accommodate minor wall movement
Professional crack injections typically cost $300–$800 per crack and last 10–20 years when properly installed.
Penetrations and Gaps
Seal around pipes, conduits, and window frames with masonry-compatible sealants. Expanding foam works for larger gaps but may need caulk overlay for water resistance.
Warning Signs
Recurring or widening cracks may indicate foundation movement and should prompt a professional structural evaluation rather than DIY patching. A site owner who ignores these warning signs risks far more expensive repairs later.
Step 3: Apply Interior Waterproof Coatings or Membranes
There is a significant difference between simple waterproof paint and true cementitious or elastomeric waterproof coatings rated for hydrostatic pressure.
Coating Types and Application
Quality waterproof coating products penetrate into concrete pores and create a barrier that resists pressure up to 100 psi in some formulations. Application typically requires:
-
Two coats applied in perpendicular directions (cross-rolled)
-
Clean, unpainted masonry or concrete surface
-
Coverage of approximately 75–100 square feet per gallon per coat
-
Indoor temperatures above 50°F during application and curing
-
Adequate ventilation with 24 hours between coats
Standard basement coatings cost $3–$7 per square foot installed, or $1,000–$5,000 for a complete basement depending on size.
Wall Liner Systems
For basements with significant seepage where coatings alone cannot keep up, flexible sheet or liner systems offer an alternative approach. These dimpled membranes channel water down to an interior drain tile rather than trying to block it completely at the wall surface. This method accepts that some water will seep through while preventing it from entering your living space.
Limitations
Coatings applied over blocked pores will eventually fail under sustained hydrostatic pressure. Where groundwater pressure is strong, coatings should be paired with interior drainage—not used as a standalone solution.
Step 4: Install an Interior Drain Tile System
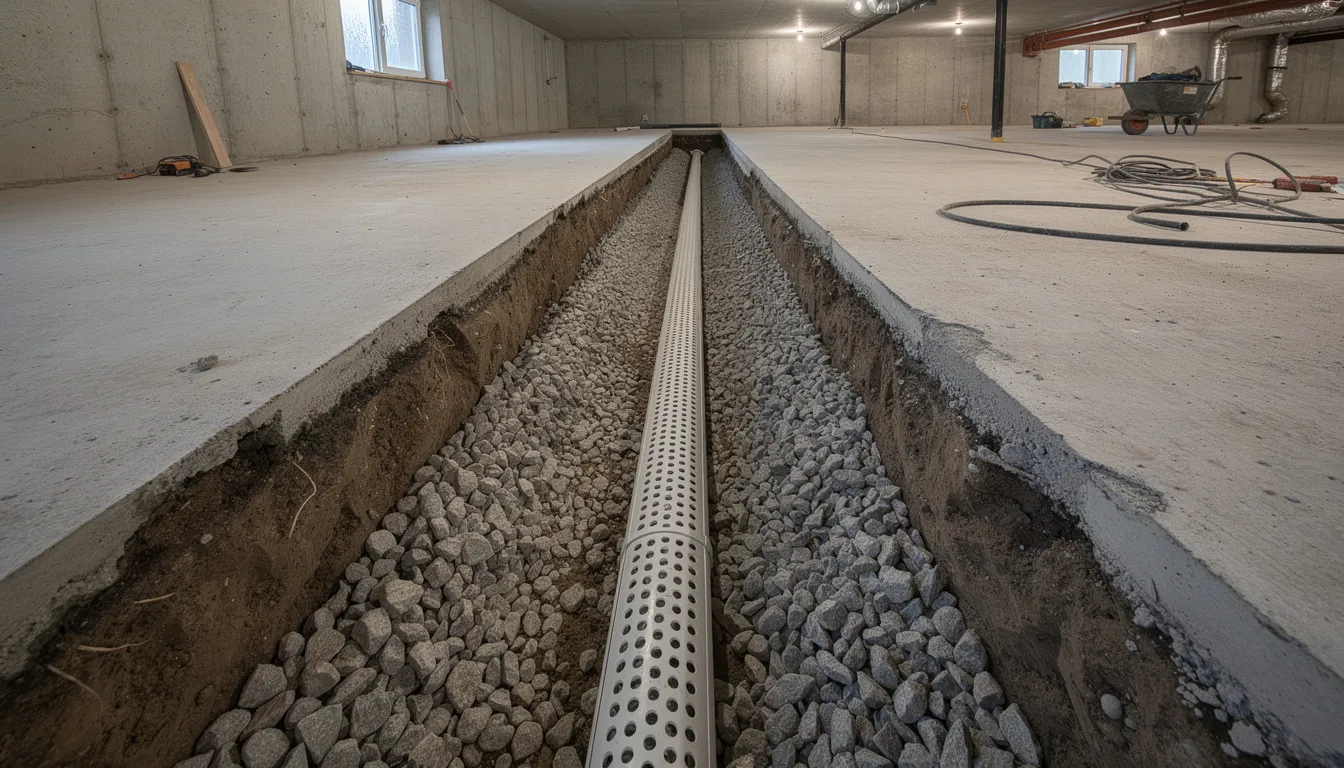
An interior drain tile (also called interior French drain or perimeter drain) represents the most robust interior method for managing groundwater. This system relieves hydrostatic pressure rather than just resisting it.
Installation Process
The basic installation sequence includes:
-
Cutting and removing a narrow strip of basement floor along the perimeter (typically 12–18 inches wide)
-
Excavating a trench at footing level (usually 18–24 inches deep)
-
Laying perforated pipe in clean gravel at a minimum 1/8 inch per foot slope toward the sump pit
-
Adding more gravel around the pipe as backfill
-
Connecting the drain to a sump pit
-
Pouring new concrete to restore the floor
The system collects water from beneath the slab and along the wall base, channeling it to a controlled discharge point before it can cause flooding or water damage.
Costs and Timeframes
|
Project Scope |
Typical Cost |
Installation Time |
|---|---|---|
|
Partial perimeter (one wall) |
$2,000–$4,000 |
1 day |
|
Full perimeter drain tile |
$5,000–$15,000 |
2–4 days |
|
Per linear foot average |
$40–$80 |
— |
Professional installers like Superior Foundation Repair design proper slope, discharge routing, and cleanout access so the system remains serviceable over decades.
Step 5: Add and Maintain a Reliable Sump Pump System
The sump pump serves as the engine of most interior drain tile systems, ejecting collected water safely away from your home’s foundation.
System Components
A complete sump pump installation includes:
-
Sump pit: Typically 24–30 inches deep, properly sized to handle anticipated water volume
-
Primary pump: 1/3 to 1/2 horsepower for most residential applications, capable of moving 2,000–4,000 gallons per hour
-
Check valve: Prevents water from flowing back into the pit after the pump cycles off
-
Discharge line: Rigid PVC routed to daylight at least 10 feet from the foundation
Recommended Additions
-
Battery backup pumps (essential for areas with frequent power outages)
-
High-water alarms that alert you to pump failure
-
Dedicated electrical circuit with GFCI protection
In areas like St George, where sudden heavy monsoon storms can dump 2–4 inches of rain per hour, having a backup pump system significantly reduces flooding risk during power outages.
Maintenance Requirements
Keep your basement dry long-term with these maintenance steps:
-
Inspect the pit every 6 months for debris and sediment
-
Test operation by pouring in water and watching the pump cycle
-
Clear the discharge line of blockages, especially before winter
-
Replace pumps every 7–10 years depending on usage
Complementary Exterior and Whole-Home Measures
Even when focusing on waterproofing basement walls from inside, exterior improvements reduce the load on interior systems and extend their life.
Grading and Drainage
Soil around your foundation should slope away at a minimum of 6 inches drop over the first 10 feet. This simple correction prevents surface water from pooling against foundation walls. Poor drainage around the exterior is responsible for an estimated 60% of basement water problems.
Gutters and Downspouts
Keep gutters clear of debris and ensure downspouts discharge at least 6–10 feet from the foundation. Add splash blocks or extensions where needed. A single downspout can channel thousands of gallons toward your foundation during a typical Utah storm season.
Window Wells and Penetrations
Check that window wells have proper drains and covers so water does not seep through below-grade windows. Seal any gaps around exterior doors, pipes, or utility penetrations with appropriate caulk or sealant.
In many Utah neighborhoods, hardscape like driveways and patios inadvertently directs water toward foundations. Adding channel drains or cutting relief gaps can redirect this water away from vulnerable areas.
Realistic Costs, Timelines, and When to Call a Professional
Interior waterproofing costs vary widely based on basement size, problem severity, and whether structural repairs are needed.
Cost Ranges
|
Service |
Typical Cost Range |
|---|---|
|
Crack injection (per crack) |
$300–$800 |
|
Wall coatings (complete basement) |
$1,000–$3,000 |
|
Interior drain tile with sump |
$5,000–$15,000 |
|
Battery backup sump system |
$500–$1,500 |
|
Wall liner system |
$3,000–$8,000 |
Project Timelines
-
Crack repairs: 1 day
-
Wall coatings: 1–2 days
-
Complete interior system: 2–4 days
When to Call a Specialist
Contact a foundation and waterproofing professional when you notice:
-
Repeated flooding despite existing efforts
-
Bowing, leaning, or cracked foundation walls
-
Large cracks that are growing or show displacement
-
Persistent mold growth or musty odors
-
Water infiltration that continues after heavy rain stops
Schedule a professional inspection through a reputable contractor such as Superior Foundation Repair to get an accurate assessment of your specific situation. Their team provides evaluations for homes anywhere in Utah.
Maintenance and Long-Term Care for a Dry Basement
Interior waterproofing is not a one-time fix. Simple annual checks greatly increase system reliability and help you catch problems before they become expensive.
Ongoing Monitoring
-
Watch for new cracks or changes in existing cracks
-
Note any new damp spots, especially after heavy rain or snowmelt
-
Keep a dated log with photos to track patterns across seasons
-
Monitor for any fill settling around the foundation exterior
Humidity Control
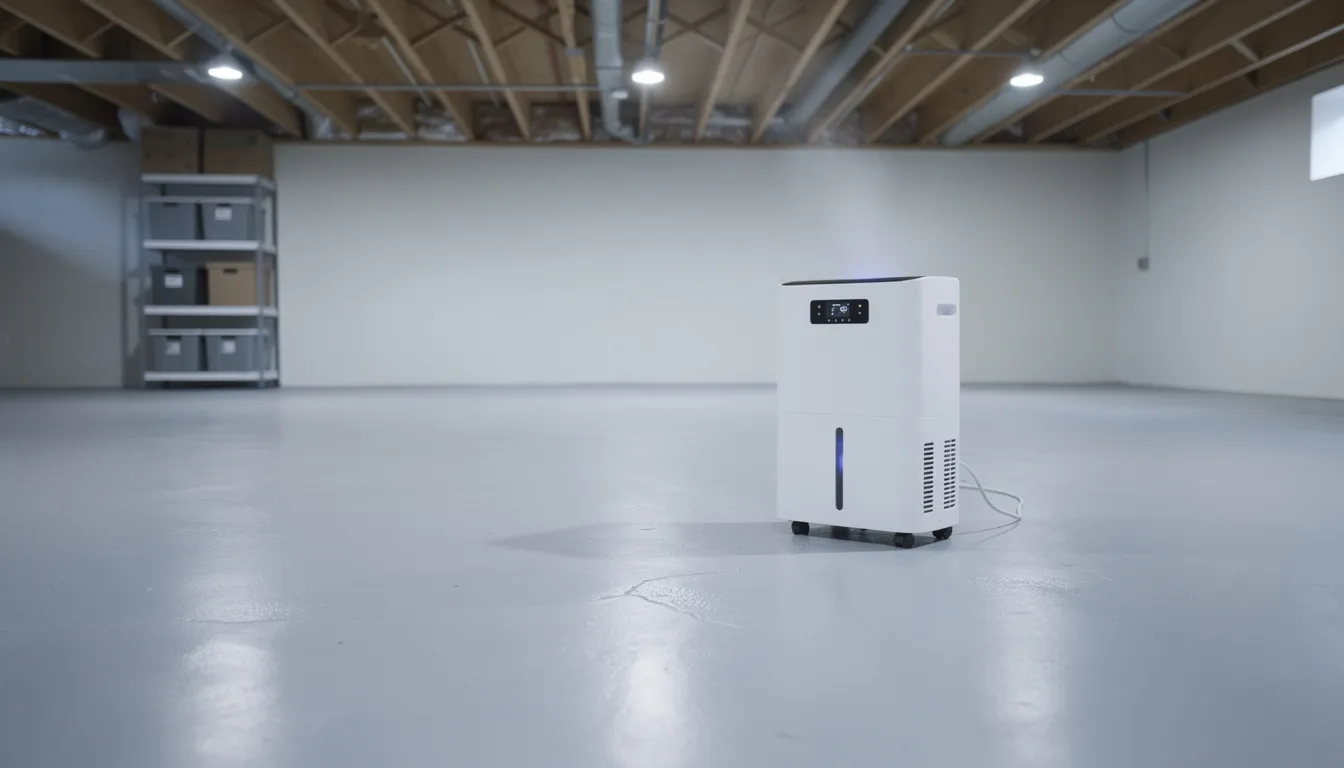
Run a dehumidifier to keep basement humidity around 40–50%, especially during summer months. This discourages mold growth and reduces condensation on walls and pipes. Units rated for 40–70 pints per day handle most residential basements effectively.
System Maintenance Schedule
|
Task |
Frequency |
|---|---|
|
Sump pump test |
Every 6 months |
|
Pit debris removal |
Every 6 months |
|
Gutter cleaning |
Twice yearly |
|
Discharge line inspection |
Before winter |
|
Dehumidifier filter cleaning |
Monthly during use |
|
Coating condition check |
Annually |
Trusted local contractors can perform periodic system inspections, particularly valuable for older systems in homes built 20–40 years ago where components may be reaching end of life.
Frequently Asked Questions
Can I permanently fix basement leaks with interior waterproof paint alone?
Interior waterproof paints and masonry sealers control minor seepage and surface dampness effectively, but they are not designed to handle strong hydrostatic pressure or active leaks by themselves. Under sustained pressure, paint typically blisters or peels within 1–3 years, turning a quick fix into a recurring maintenance issue.
Treat paint as one component of a complete system. Apply it after cracks are sealed and only when you have addressed underlying drainage problems. For basements with thin hairline cracks and occasional dampness, quality coatings may be sufficient. For anything more, pair coatings with proper drainage.
How do I know if my basement problem is structural or just a water issue?
Key warning signs of structural movement include horizontal cracks in poured concrete walls, walls bowing inward, stair-step cracks in block walls, doors or windows sticking on upper floors, and noticeably uneven floors. These patterns suggest the foundation itself is moving and require professional structural evaluation.
Isolated hairline cracks with no displacement that have remained stable for years are typically shrinkage or settlement-related. These primarily serve as water entry paths rather than structural concerns. If you are unsure, schedule a professional evaluation—early structural repairs cost far less than delayed ones.
Is interior waterproofing a good choice for finished basements?
Interior waterproofing is often the only practical option for finished basements since it avoids major exterior excavation. The tradeoff is that finished spaces typically require removing lower drywall, trim, and sometimes carpet along the perimeter to access wall bases for drain tile installation.
Plan waterproofing before investing in new flooring or built-in cabinetry. Coordinating the work in the right order protects your renovation investment. Once complete, the basement can be refinished over a dry, protected system with confidence.
Will an interior drain tile and sump pump system increase my home’s value?
While real estate markets vary, buyers and home inspectors generally view professionally installed interior drainage as a positive feature, especially when backed by transferable warranties. Preventing mold, rot, and foundation damage typically saves far more in avoided repairs than the upfront waterproofing cost.
Document your system design, installation date, and maintenance history. Homeowners in markets like Salt Lake City find this documentation valuable when selling, demonstrating proactive care that protects the building envelope.
Do I still need exterior work if my interior system is working well?
A properly designed interior system can keep your basement dry even when exterior drainage is imperfect. However, maintaining good exterior practices—clean gutters, proper grading, sealed penetrations—reduces stress on interior components and extends their service life.
In some high-water-table areas, contractors recommend both exterior and interior solutions working together. The interior system serves as a reliable backup when storms exceed normal design conditions, giving homeowners complete confidence regardless of weather severity.
Conclusion
A dry basement starts with understanding your options and taking action before minor seepage becomes major damage. Whether you handle surface prep and basic crack repair yourself or bring in professionals for a complete interior drain tile system, the investment protects your home’s foundation for decades.
If you are dealing with persistent moisture, recurring leaks, or uncertainty about what your basement needs, consider scheduling a professional evaluation. Contact Superior Foundation Repair to discuss your situation and get a customized assessment for your Utah home.